In less than 30 minutes, you will enjoy a past and present view of a public place using open content, open data and open source software.

Ingredients:
* computer running OS …
* an old public domain picture of a public space
* a recent public domain picture of a public space
* a website or a blog to host your image
Step 1. Find your original image
To start, we are going to need an old image in public domain which you are able to locate, access and take a current picture.
You basically have 3 options for finding a picture :

Find an available image on Wikimedia Commons
Wikimedia Commons allows you to find open content you can reuse freely. You can find them by looking for postcards in the search engine or in the various categories placed in the main postcard category.

Scan an old public domain postcard or picture
If you use a scanner, make sure you use a resolution of at least 200 dpi in the settings.
You don't own a scanner ? No worry, you can just your digital camera and then crop the image.

Ask your city for image archives
Most cities hold an archive composed with old postcards and photographs which now belong to the public domain or could be released under creative commons license. Some cities like Paris own an amazing digitalized photographs base payed by tax-payer money but they don't release it under an open license which would allow reuse for Open Postcards.
Claim your right to give a second life to this amazing content!
Step 2. Take a present image
This step is the coolest part : you go out and take a picture of the current state of what figures in your original image.
Here are some advice before you go out in the wild!

Find the exact location the picture was taken
Make sure you printed the picture before leaving or on a mobile device.
Once you locate the place your picture was taken, find the orientation of the photograph back in the days.
Orient and frame your picture
Take the printed picture and try to have the same frame as the original picture.
Tips: use roofs, gutter, lampposts, as markers for orienting your picture. Some may not have moved or changed in the past 10 decades.
Take many pictures!
Don't be shy, press the button many times! Try different angles and different settings so that you find the perfect picture.
Step 3. Upload your images on Wikimedia Commons
You have already done some creative work while taking pictures. Upload it on Wikimedia Commons so that your picture feed the Wikipedia pages of the places you're shooting and allow others to create with your images.
It is really easy to upload your pictures on Wikimedia Commons:


Create an account
You trust Wikipedia for many things, don't you? Well, trust them, it's really ease to create an account.
Is that legal?
Wikimedia Commons will give you a list of cases in the Upload Wizard. Make sure you have the rights to upload the pictures you will be using. Read the documentation, it's pretty simple.
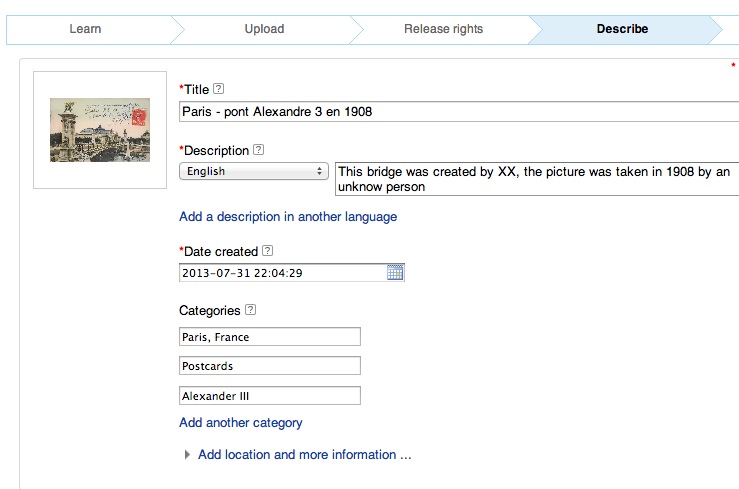
Describe your pictures
There are millions of pictures on Wikimedia Commons. The more details you will provide on your picture, the more chance your picture will have to be found by someone and reused. Also don't forget to include categories to link your pictures with other relevant content.
Step 4. Install Hugin, the software for aligning the pictures.
From now on, we will use an open source software called Hugin which allows pictures to be aligned for creating panoramas and also visualising before/after images.
Hugin is a very powerful software, it has tons of parameters and complex algorithms. But if you follow the steps, it will be easy you'll see.

Using Linux?
After download, install the package by merely following the instructions.
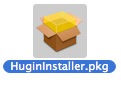
Using MacOS?
Download and install the package by opening the file Huginstaller.pkg. Follow the steps.
Using Windows?
Download and install the package. Follow the steps.
Step 5. Use Hugin to adjust the pictures and make them identical
In this step, you will add the pictures in the software and adjust them by looking for identical points in the two pictures.
This step is the most interesting, that's were you will find out what has (not) changed from the past.
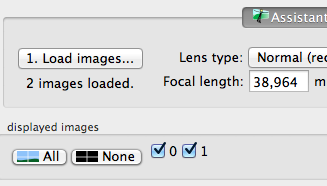
Load the images in Hugin
In order to adjust the images, we first need to load them. When opening Hugin, you will find a control panel with several options. Stay in the assistant tab and just drag and drop the images in Hugin.
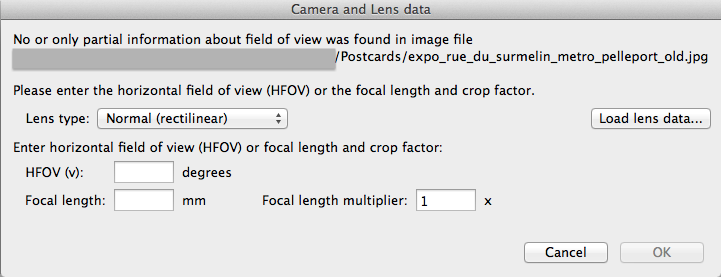
Just hit cancel
In most cases, Hugin will tell you it does not recognize your camera. Whatever! Just hit cancel.

Hit "2. Align"
Hugin will tell you it does not have enough control points. It's normal, we're doing this just right after.
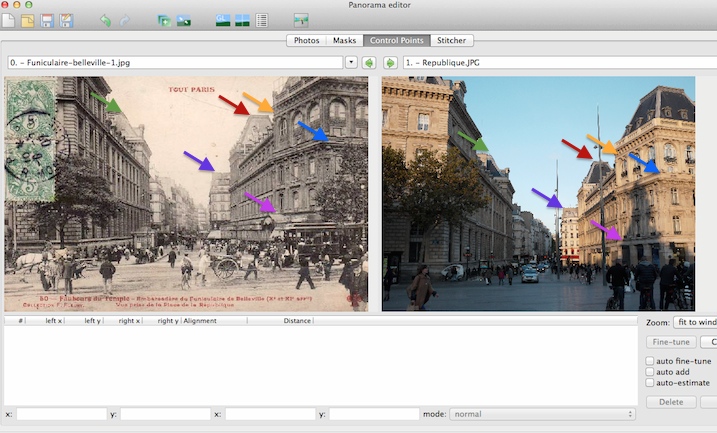
Find control points
The best part is right now! You should have your past and presente image in the same window like on your left.
Now look at the two pictures. Look for two identical points (a roof edge or a window for example). These points must be at the same position in the two pictures.
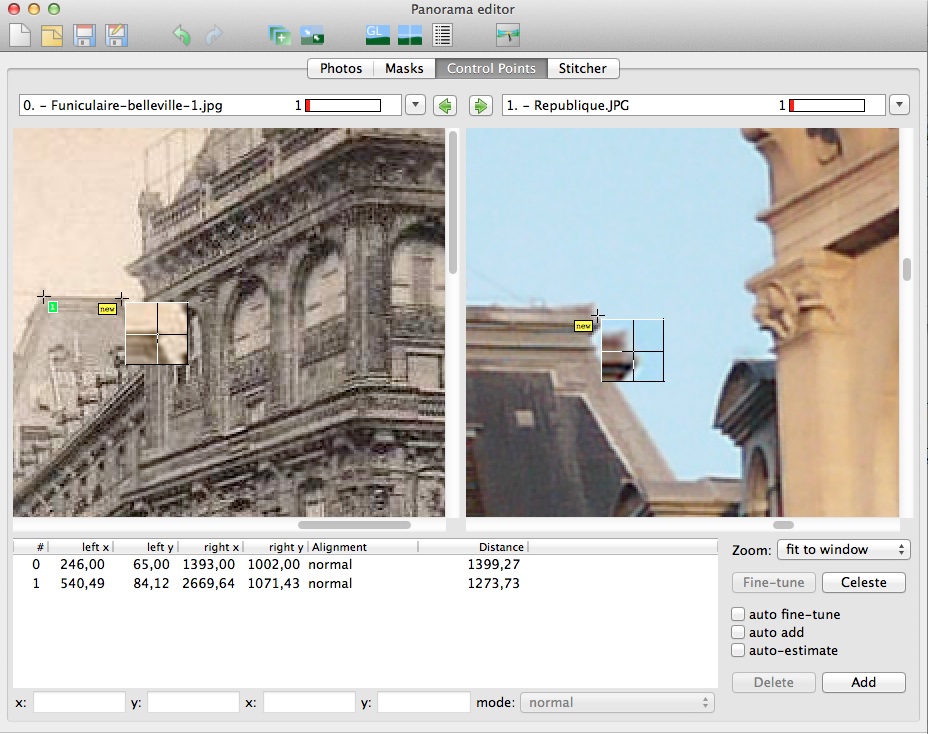
Add control points
Now that you have found your control points, you must add them manually. Click at the control point on your past picture then at the same control point on your present picture. Then click add.
Repeat to have more than 5 control points
Spread your control points all across the image and try to mark vertical and horizontal lines in the two images.
Step 6. Crop the image
Now that we have our control points, Hugin knows where are the identical points in the two images and it can adjust them to fit.
But before we need to get rid of the parts which don't correspond it the two images.

Align the points
First go back to the simple interface (menu Interface --> simple). First click on Align (ligns of code will appear and show you how the process goes), this is when the images are stretch to fit.
Then click on the "Crop" tab.
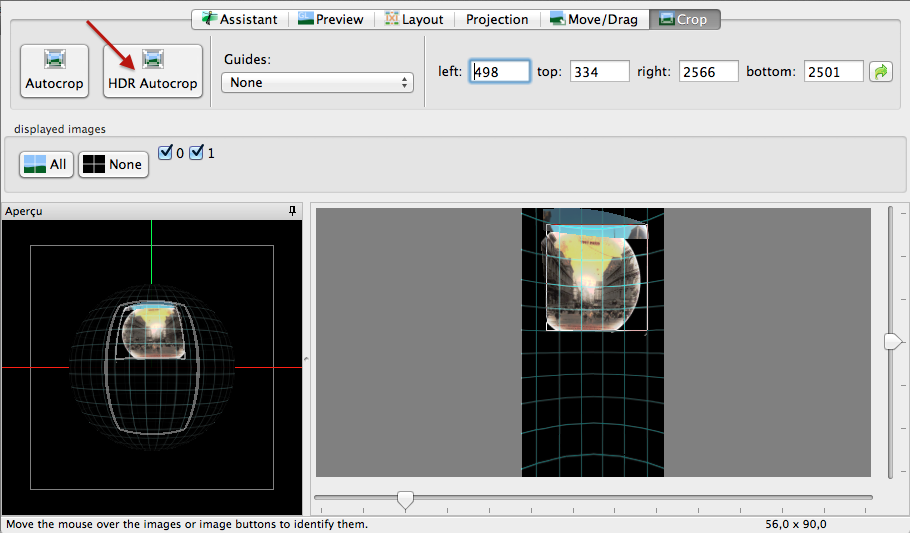
Crop the images
First stretch the window to have a preview of your images.
Hit "HDR Autocrop" to crop the images to include only areas of the pictures with control points.
Step 7. Export the images
This is the final step! After we will have two most identical pictures.
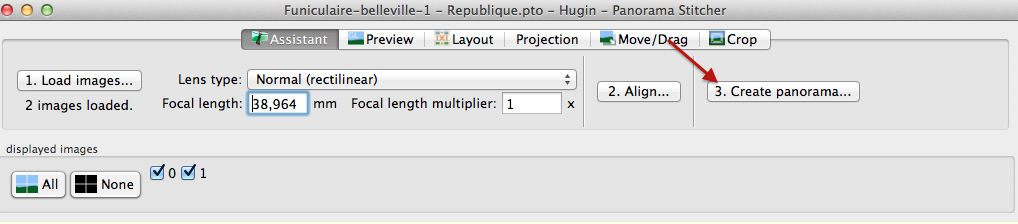
Select Create Panorama
In the fast preview window, select the third step "Create Panorama". A window will open with options.
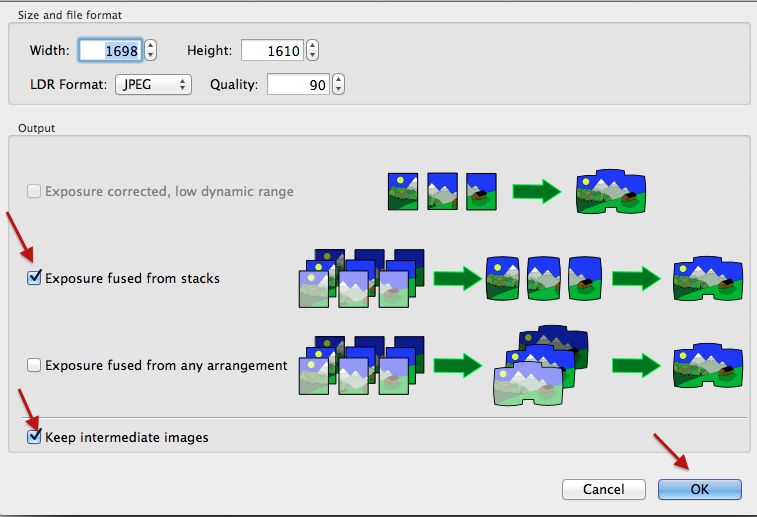
Select the output
Select "exposure fused from stacks" (whatever what it means, we are making a panorama". Then select "keep intermediate images", these intermediate images are what we are looking for: the before/after images adjusted with Hugin.
Click OK to start the export.
Step 7
Coming soonStep 8
Coming soonStep 9
Coming soonStep 10
Coming soon